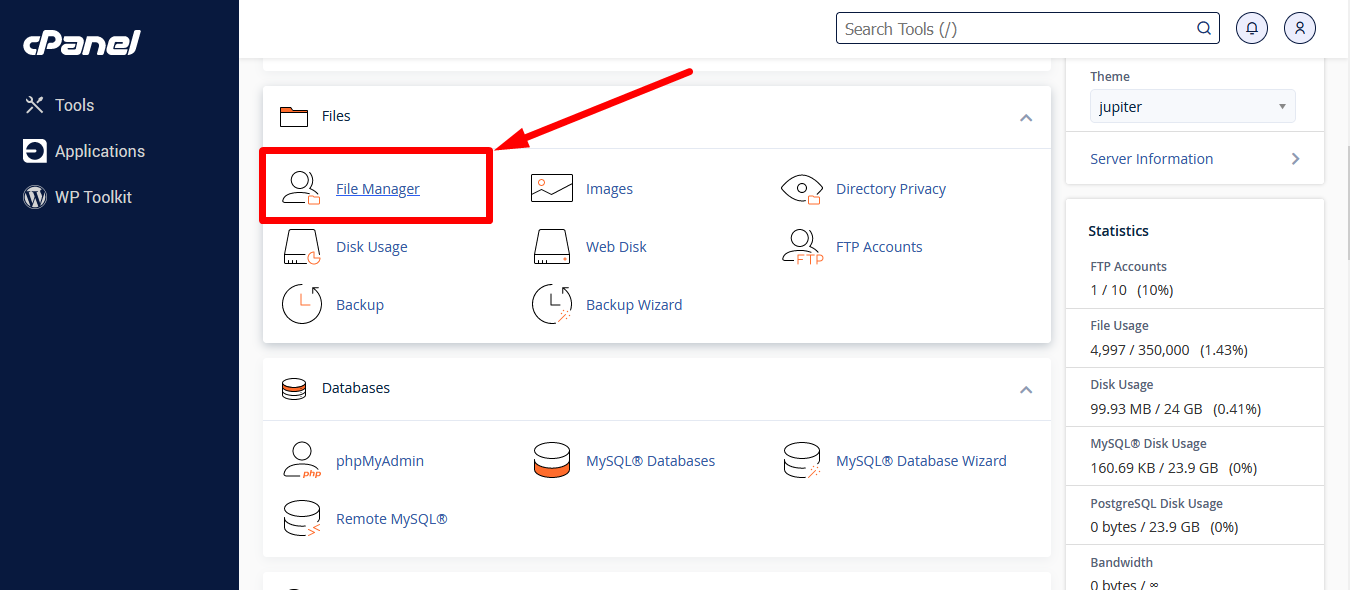
- Access your cPanel account.
- Access the File Manager.
Within cPanel, locate and click on the “File Manager” option. This will take you to the file management interface of your web server.
- Navigate to the directory where your plugins are located.
Once in the File Manager, you should see a list of folders and files on your server. You’ll need to navigate to the root directory of your website, which is typically inside the “public_html” folder or the folder named after your domain. Within the root directory of your website, look for the folder named “wp-content“.Inside “wp-content“, you will find another folder named “plugins“. Click on this folder to access the list of plugins installed on your site.


- Deactivate the plugins.
In the “plugins” folder, you will see a list of folders, each representing an installed plugin. To deactivate a particular plugin, simply change the name of the plugin’s folder by adding “-disabled” to the end of the name. For example, if you want to deactivate a plugin named “wordpress-seo” change the name of its folder to “wordpress-seo-disabled“.
- Check your website.
After deactivating the plugin or plugins causing issues, verify your website. Access your domain in a web browser and ensure the problem has been resolved. If the site functions correctly, you have successfully deactivated the problematic plugin. - Reactivate plugins (if necessary).
If the issue is resolved and you wish to reactivate a plugin, simply change the plugin’s folder name back to its original name, removing “-disabled” from the name.
Note: Remember that deactivating a plugin in the file manager is only a temporary measure to troubleshoot issues. Make sure to investigate and resolve any conflicts or errors in your plugins so you can reactivate them when appropriate.
Misail Esquivel,
Business Development Representative


 How can I help you today?